Guide to setting up your profile on bitcoinconfederation.org
To get started, ensure that you have the following tools:
- An account registered on bitcoinconfederation.org (you may need to check your spam folder for the confirmation email).
- A self-custodial wallet for on-chain donations.
- A Blink wallet for Lightning donations.
- A BTCPay Server instance (create an account at btcpay.satcrowd.com).
Optional recommended tools:
- Aqua wallet for liquid donations.
- Community listing on btcmap.org.
- Community listing on geyser.fund.
Getting started
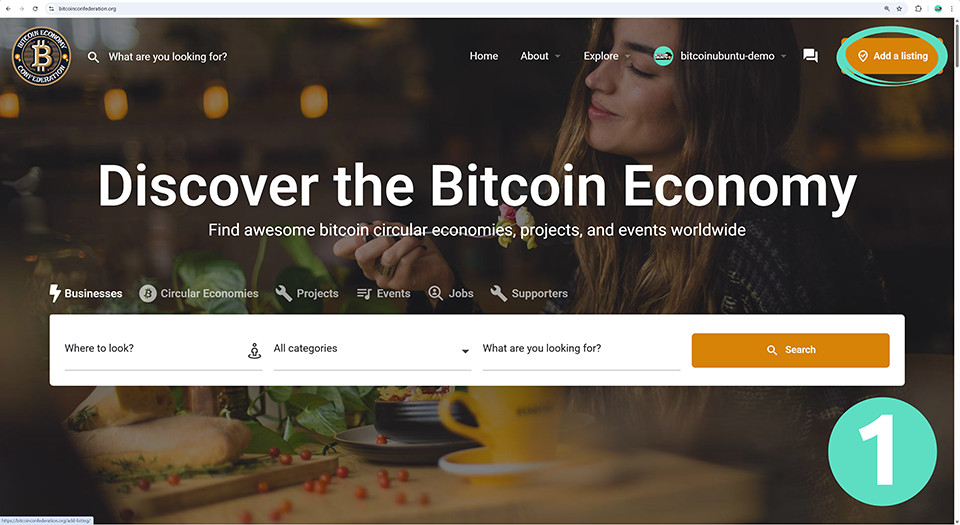
Log in to your profile on bitcoinconfederation.org:
- Click on “Add a listing”.
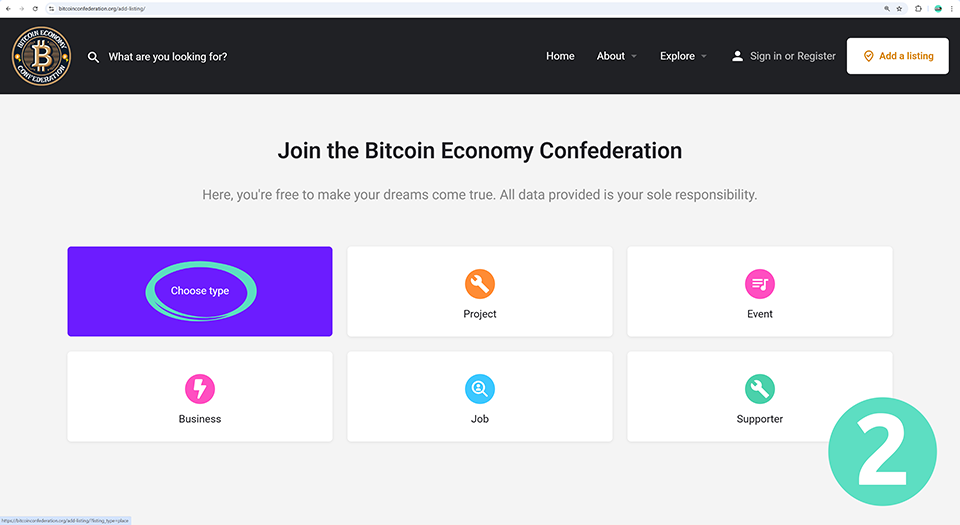
- Choose “Circular Economy”.
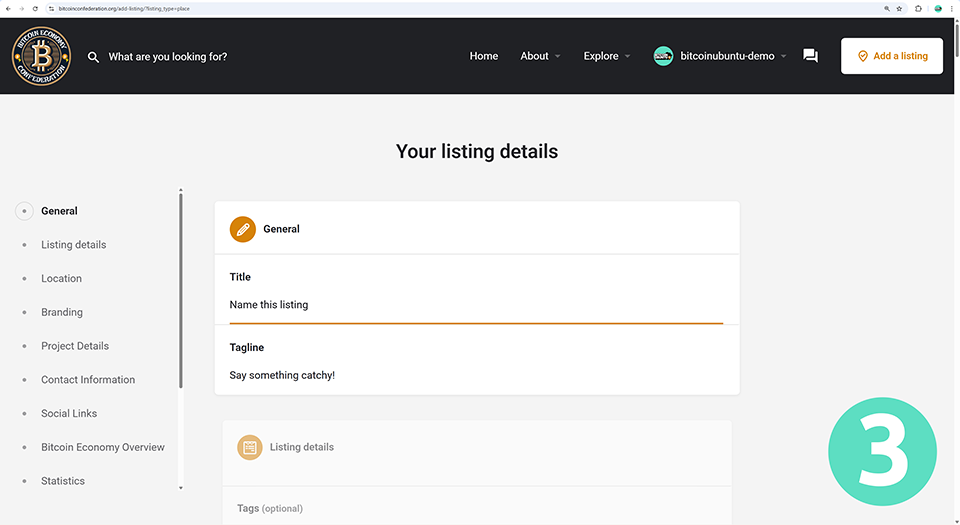
- Fill out your listing details (see below for guidance).
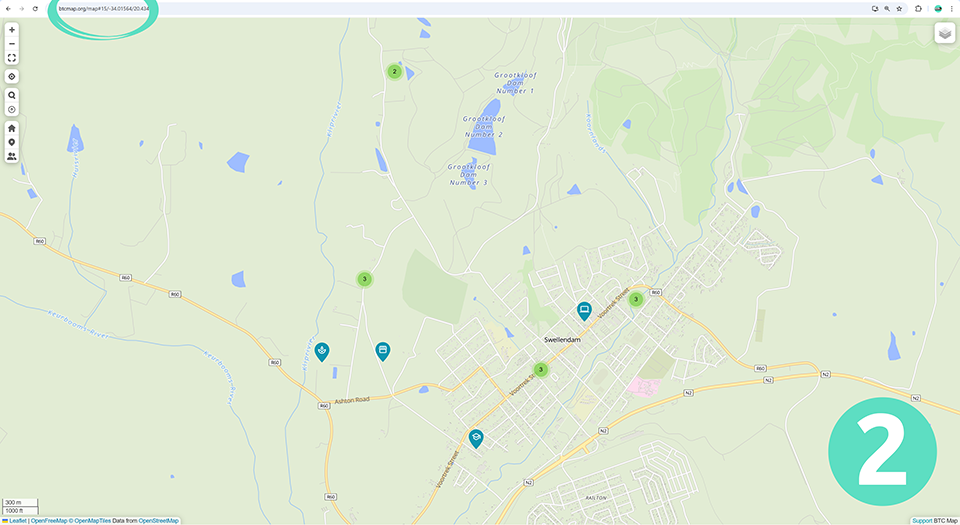
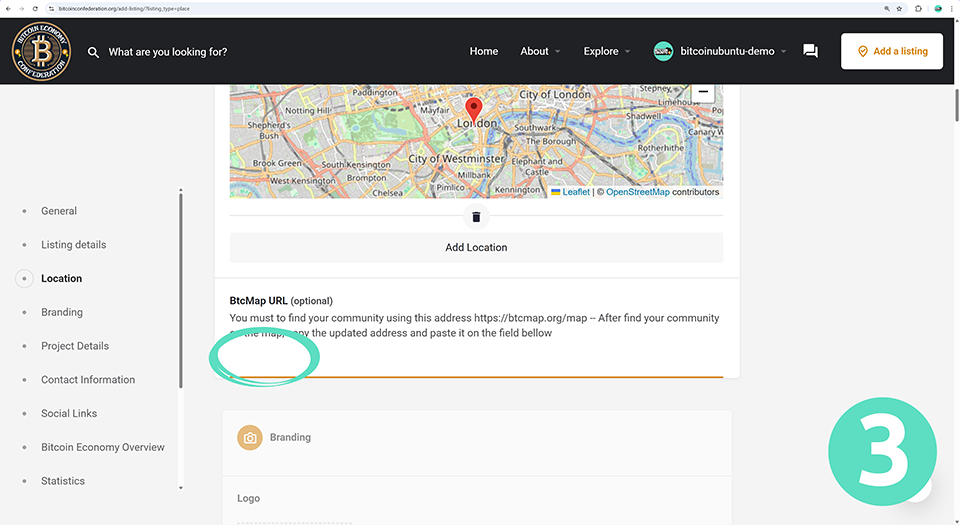
BtcMap URL
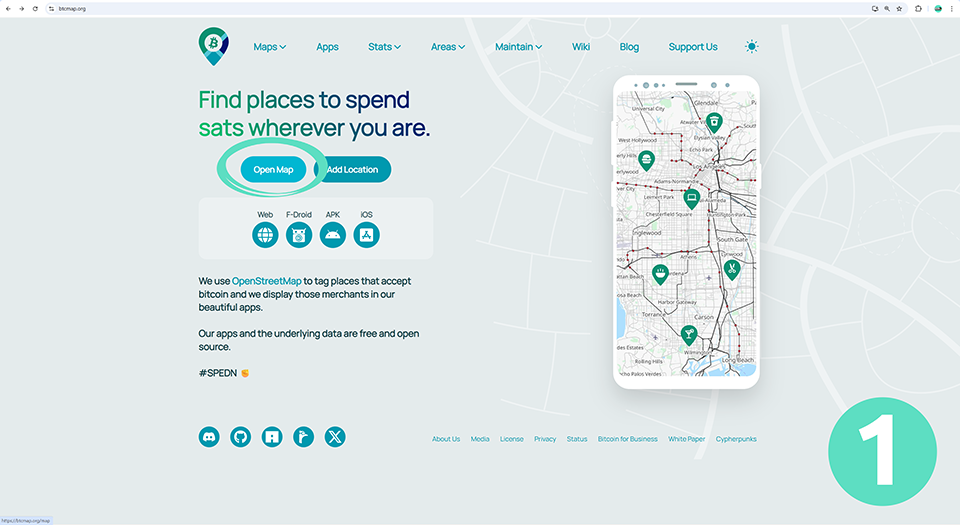
When you reach “BtcMap URL” in the Location section of your listing details:
- In a new window, visit btcmap.org and click on “Open Map”.
- Find the general location of your project. Zoom in or out on the map to include as many of your circular economy’s merchant pins in the centre of your view as possible, then copy the URL in the address bar.
- Paste the URL into the appropriate field in your listing details on bitcoinconfederation.org.
BTCPay Server
When you reach the Donate Tab and QR Codes section:
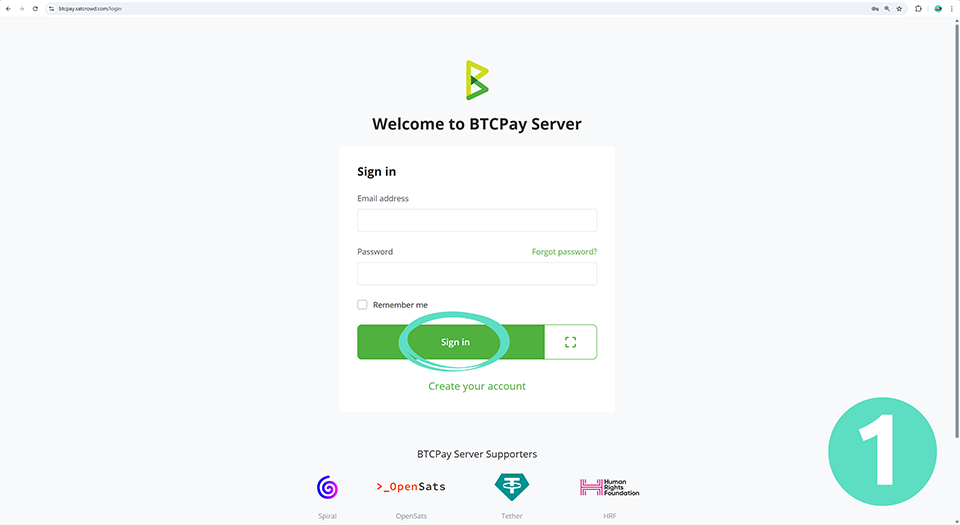
- In a new window, sign in to your BTCPay Server account at https://btcpay.satcrowd.com/.
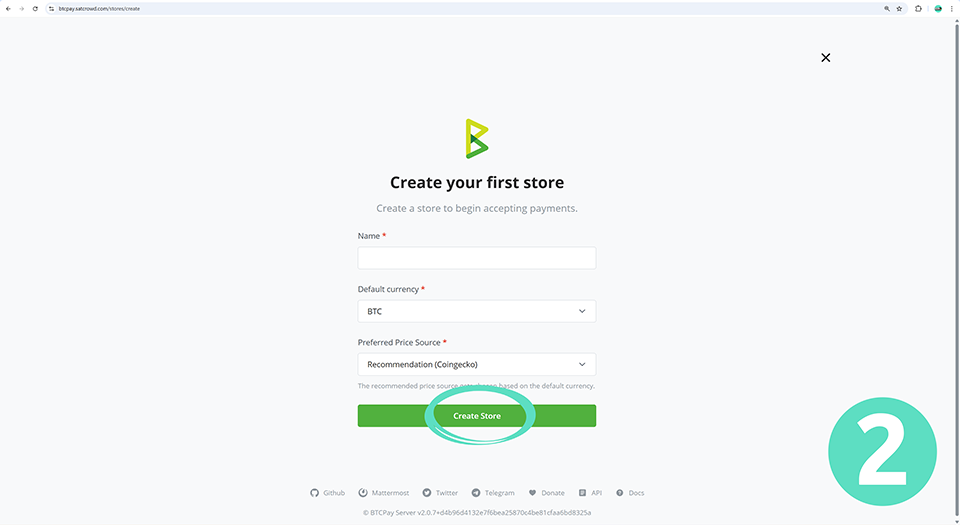
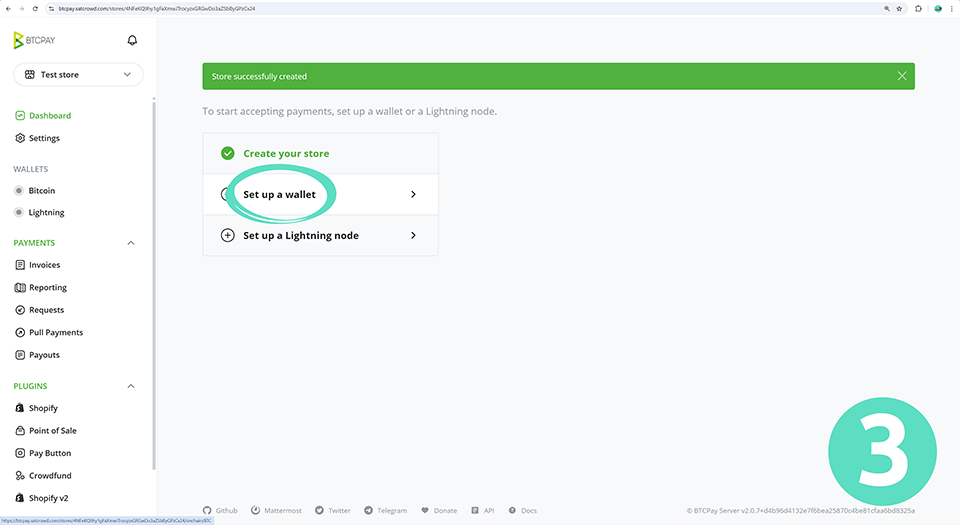
- Choose an appropriate name for your store and click on “Create Store”. Do not change the default currency!
- Click on “Set up a wallet”.
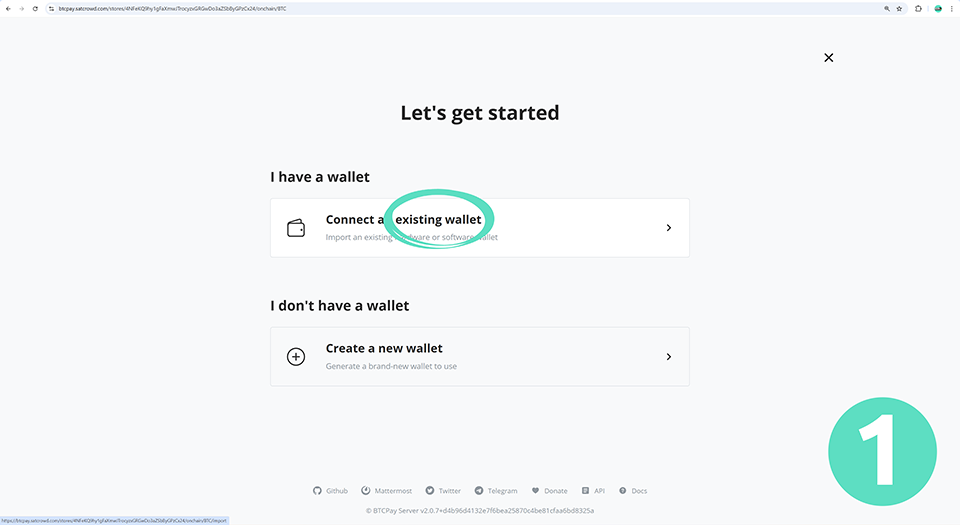
Connecting your wallets:
- Click on “Connect an existing wallet”.
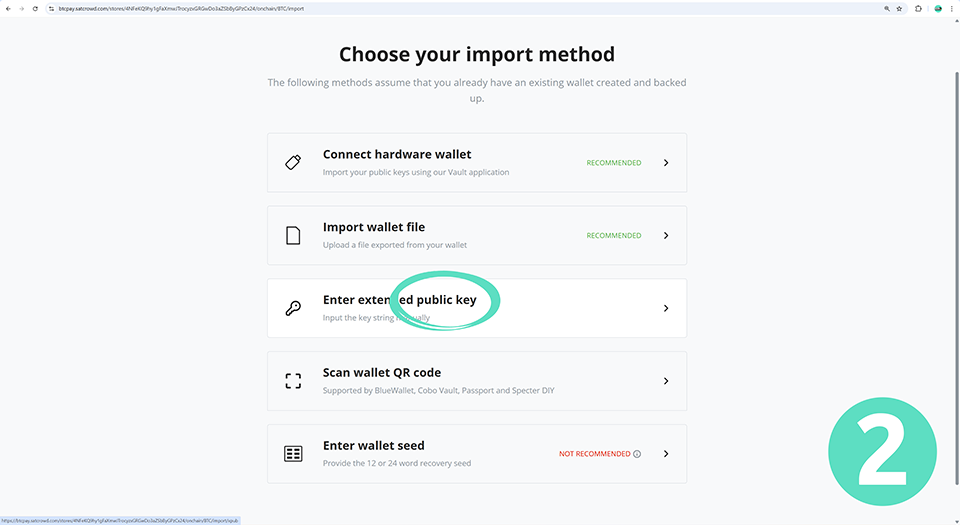
- Click on “Enter extended public key”.
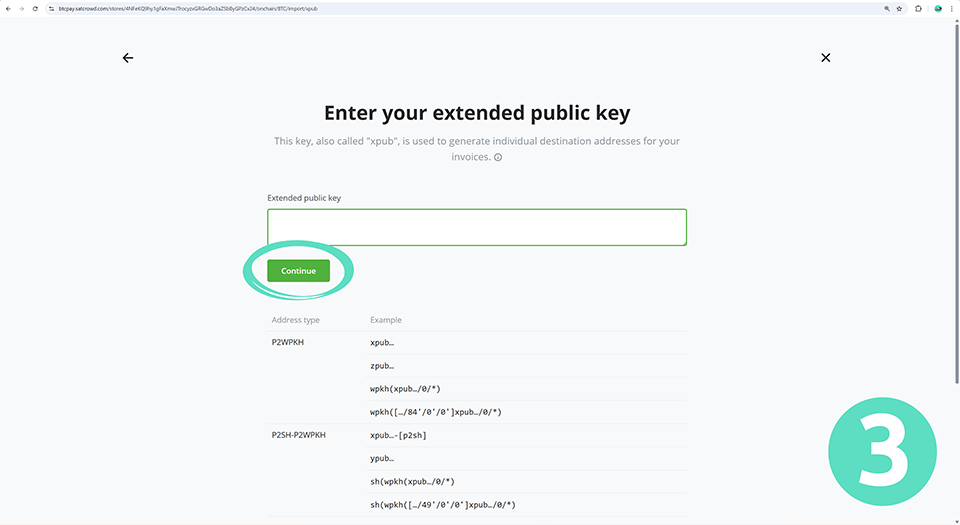
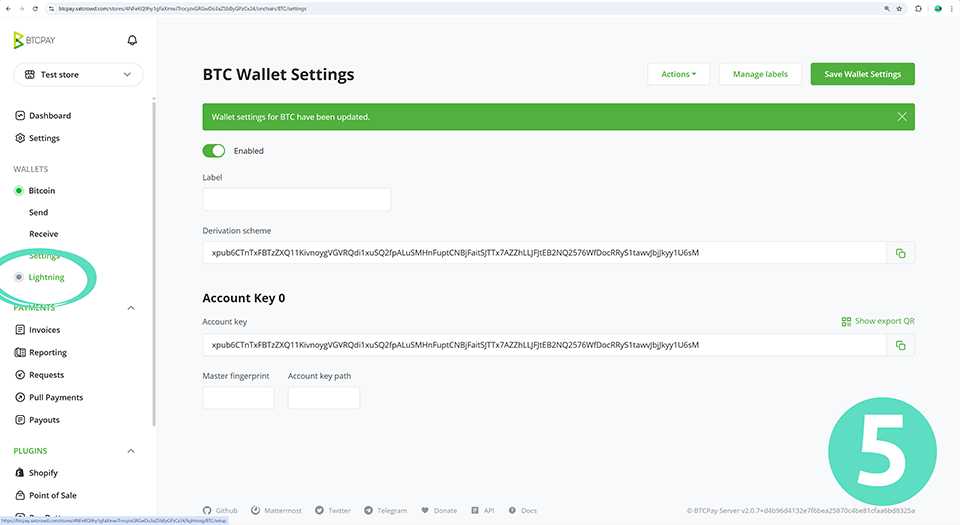
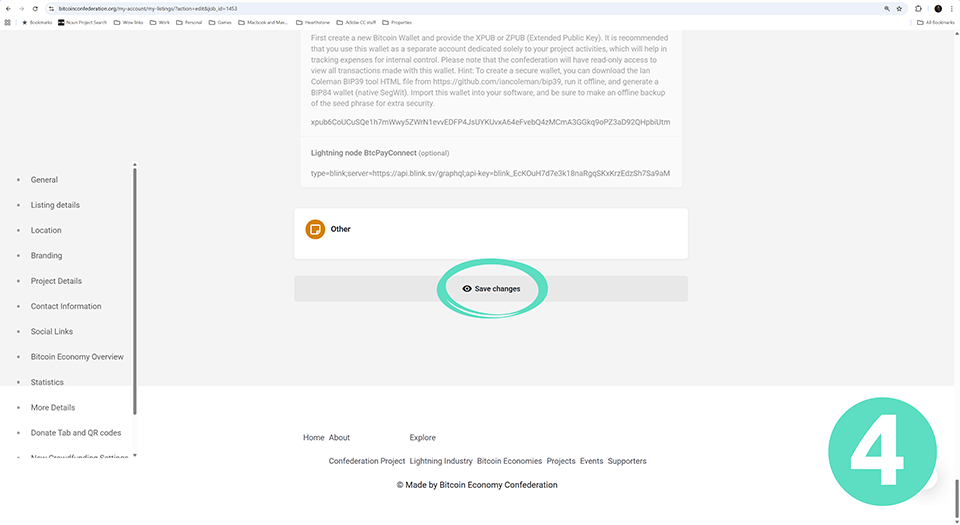
- Paste your xpub/zpub into the “Extended public key” field and click “Continue”. Your public key can usually be found in your wallet settings.
- Check that your on-chain wallet is generating the same addresses as your BTCPay Server and click “Confirm”.
- Click on “Lightning” under the Wallets section of your BTCPay menu.
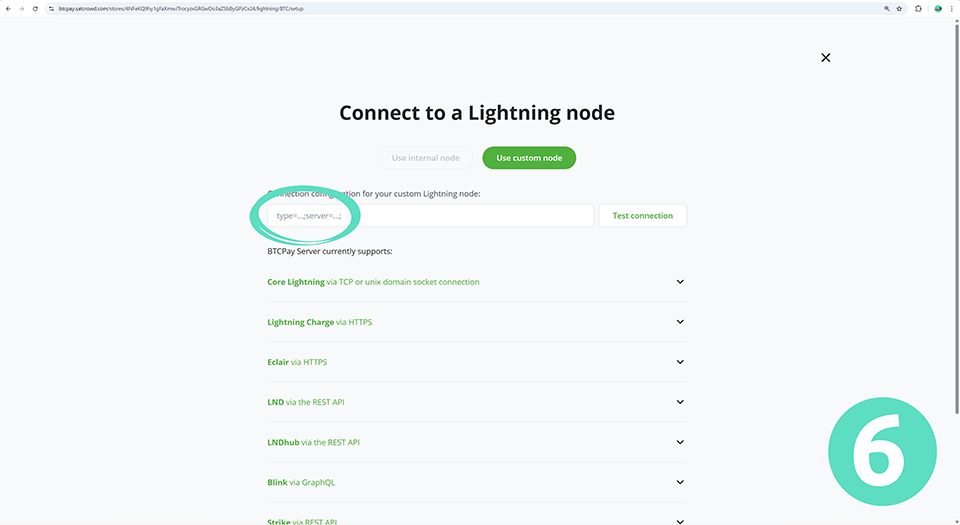
- Enter the connection configuration for your Blink wallet (see below).

To access the connection configuration for your Blink wallet:
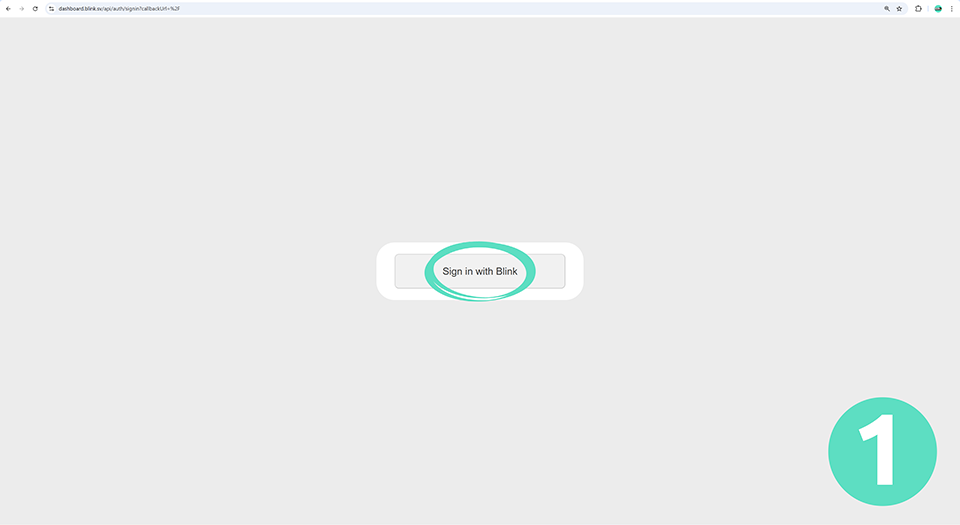
- In a new window, sign in to your Blink account at https://dashboard.blink.sv/.
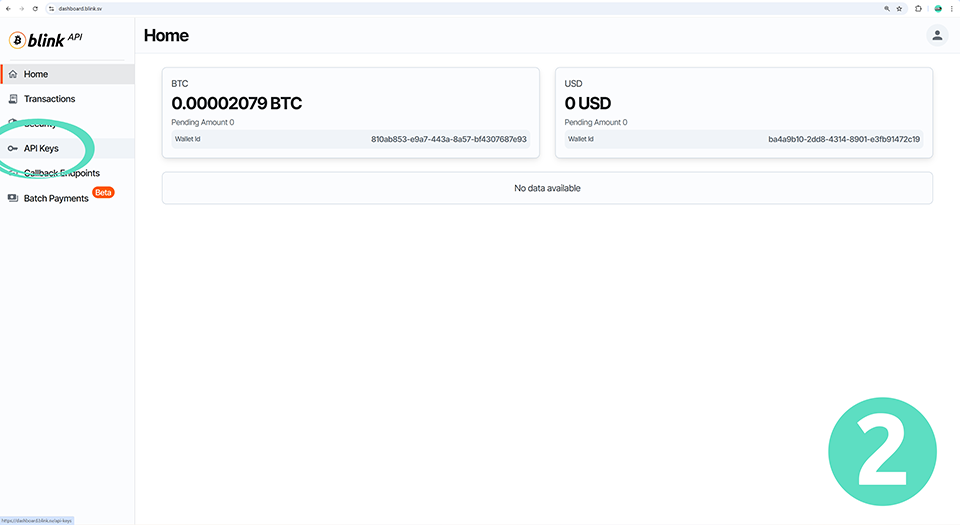
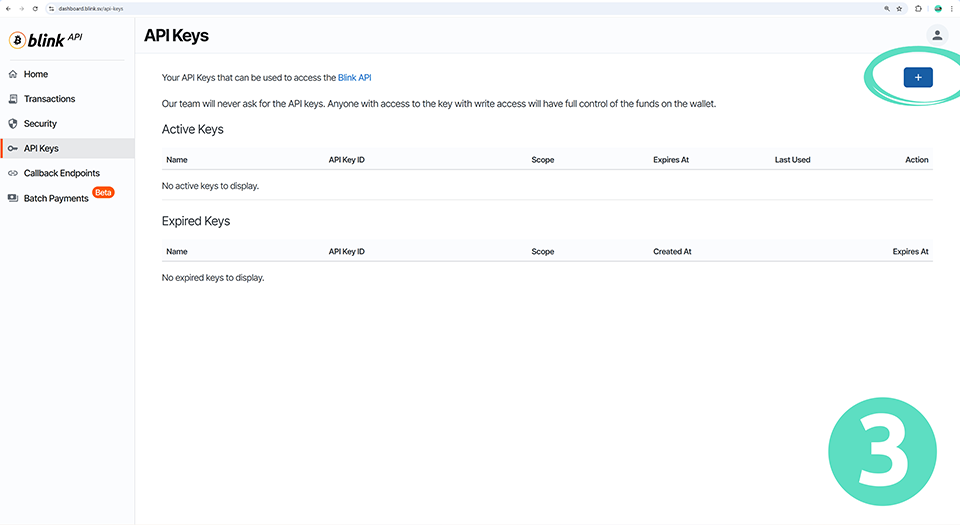
- Click on “API Keys” in the Blink API menu.
- Click on the blue “+” button in the top right to add a new API key.
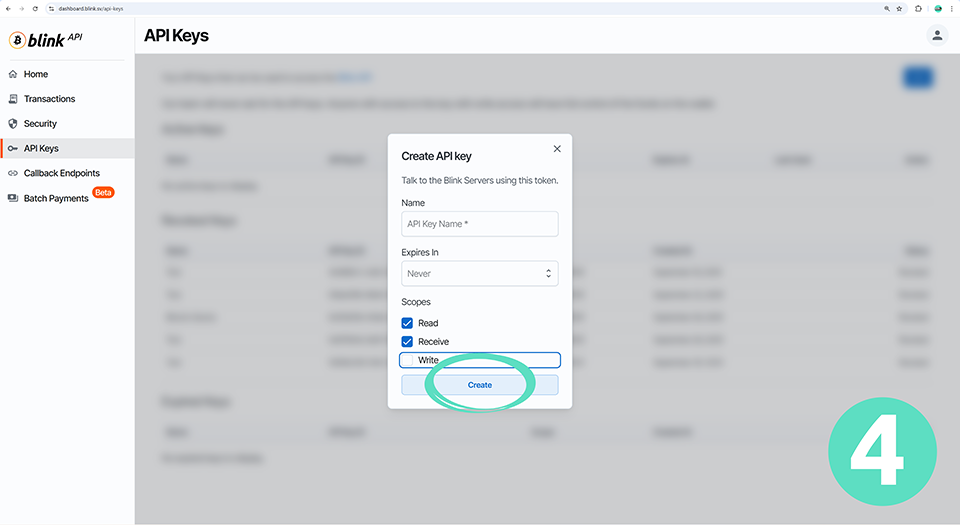
- Give your API key an appropriate name. Make sure that the “Write” checkbox is unchecked! Click on the “Create” button.
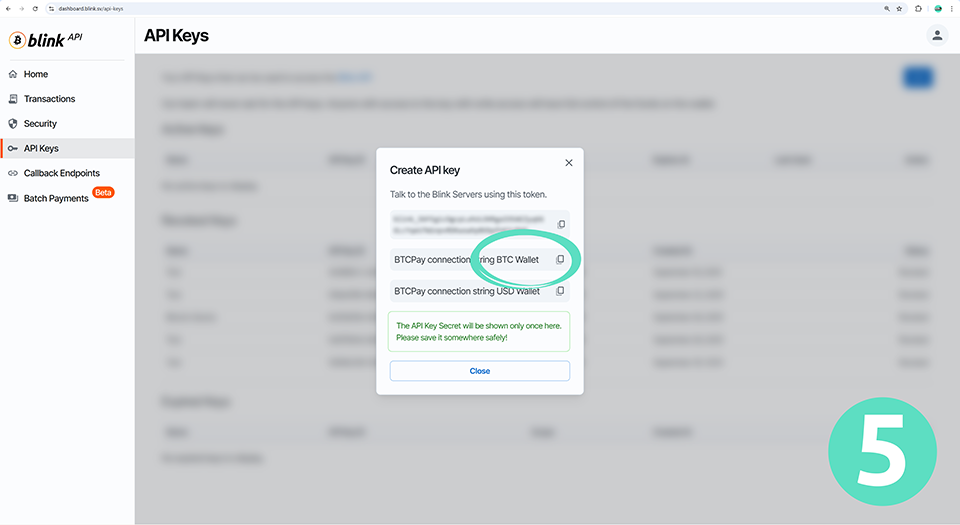
- Click on the “BTCPay connection string BTC Wallet” option to copy it to your clipboard. Save it somewhere safe!
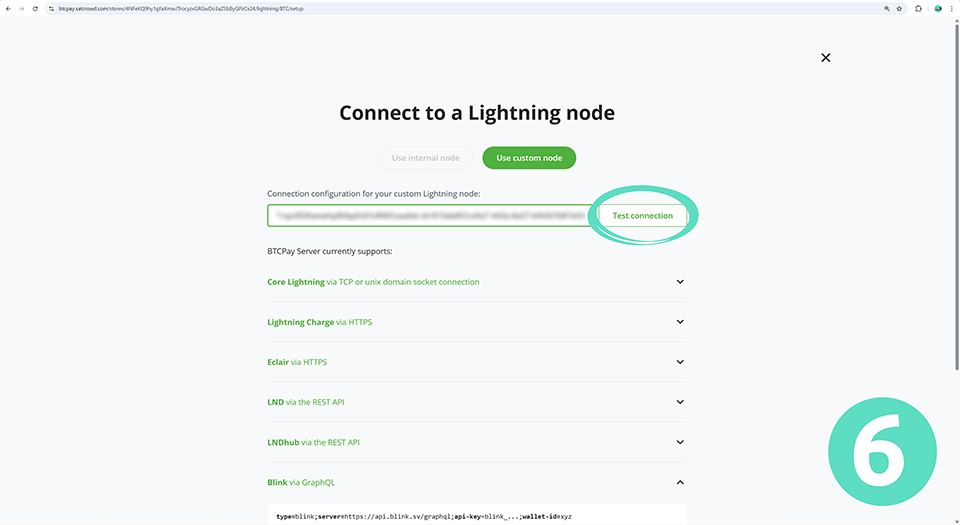
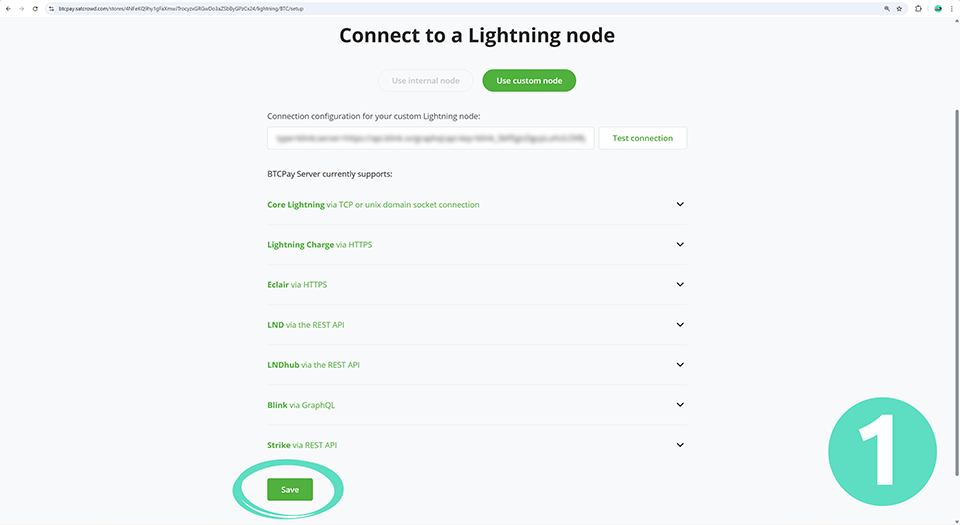
- Return to BTCPay Server, paste the connection string into the field and click on the “Test connection” button.
Save your progress and continue:
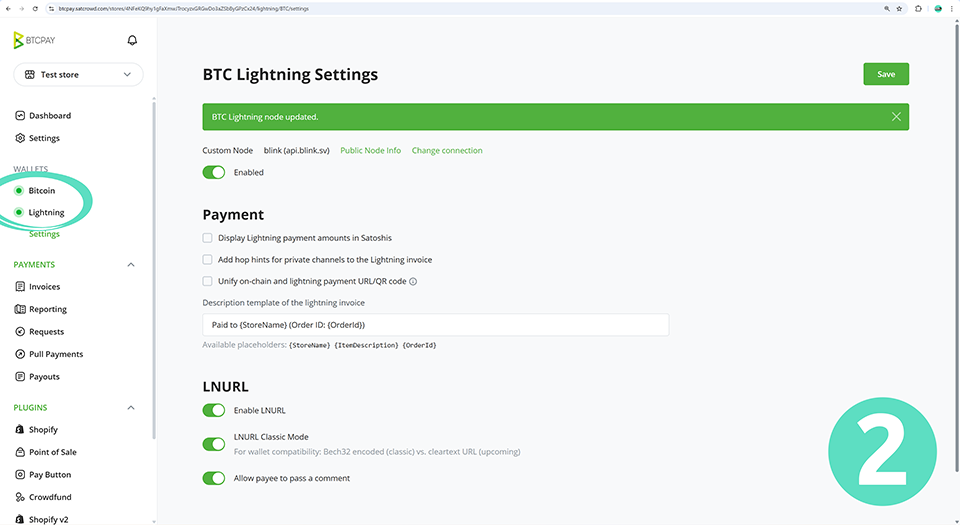
- Click “Save” to confirm your Lightning settings.
- Ensure that you see a green light indicating that both of your wallets are connected to your BTCPay server before continuing further.
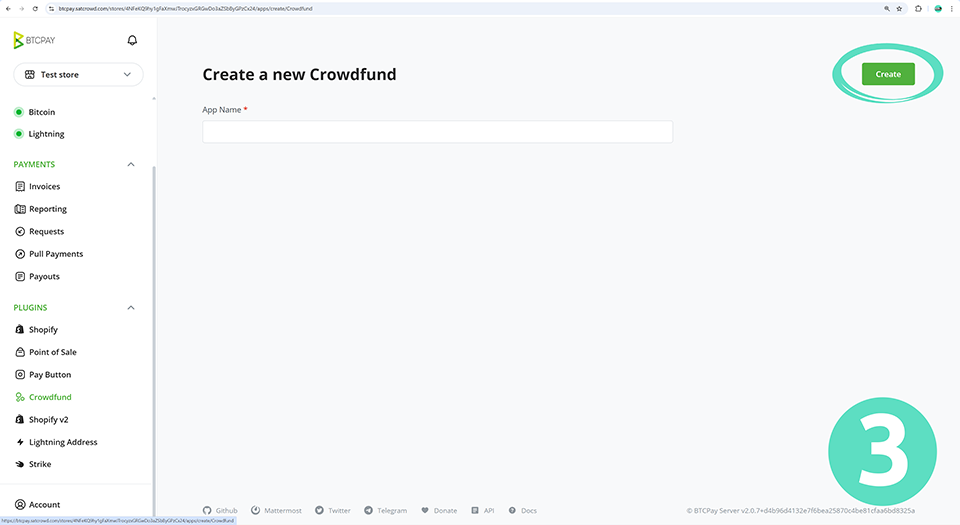
- Select “Crowdfund” under the Plugins section of the BTCPay menu. Give your crowdfund an appropriate name and click on the “Create” button.
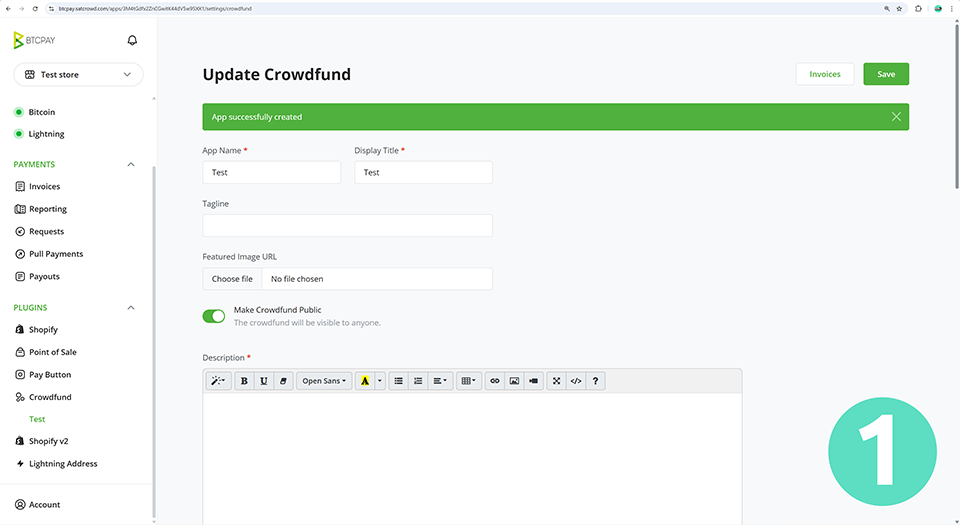
Setting up your Crowdfund campaign
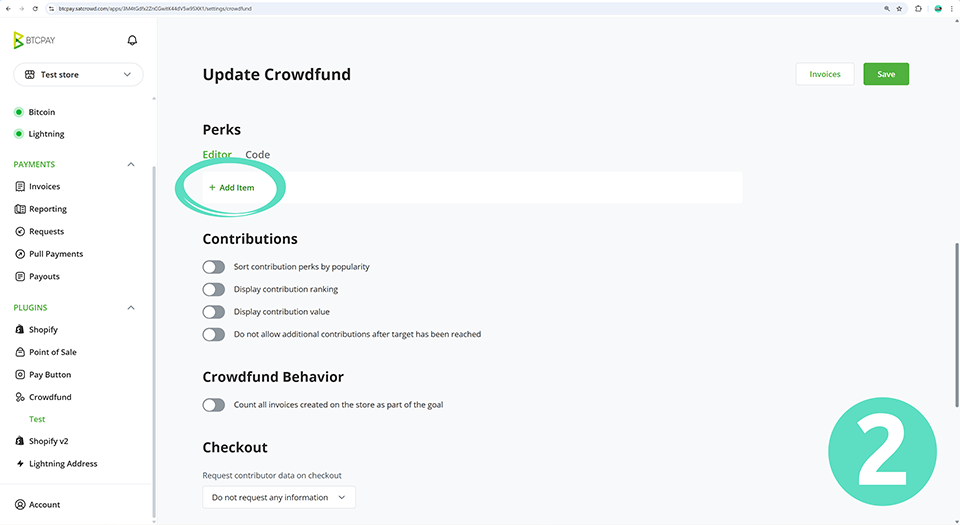
- Fill in the relevant details for your Crowdfund campaign.
- Under the Perks section click on “+ Add Item”.
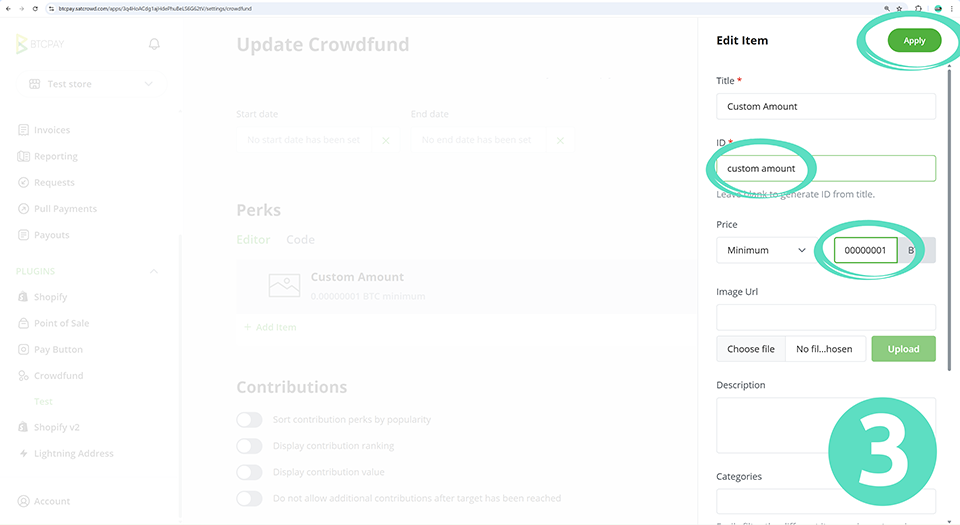
- Create a custom item, with the ID of “custom amount” for a minimum of 0.00000001 BTC (1 satoshi) and click on the “Apply” button. Note: the ID must be “custom amount” without the quote marks, or the donation button on your profile will not work.
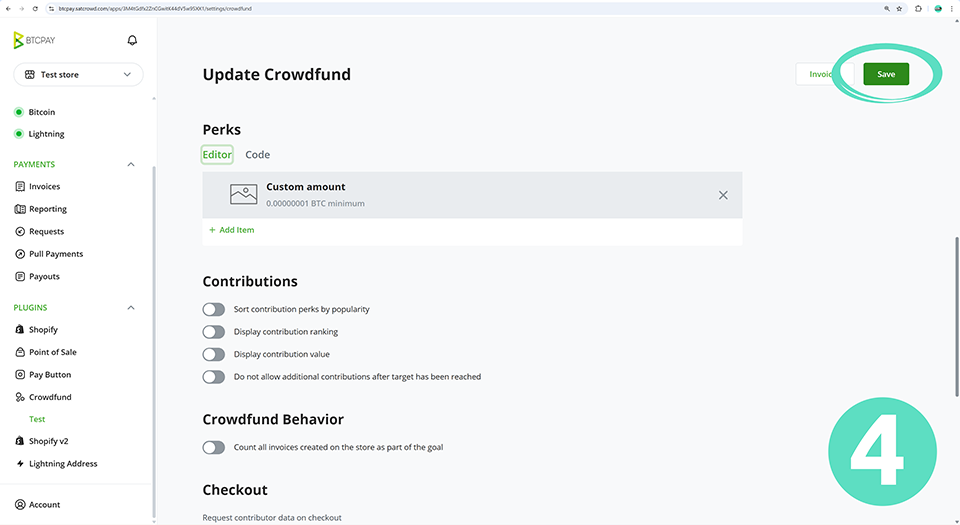
- Click on the “Save” button.
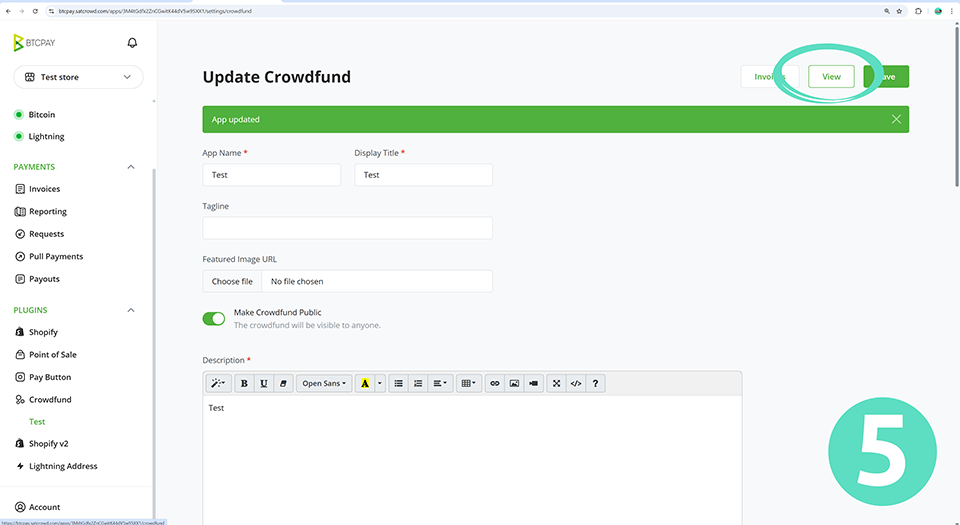
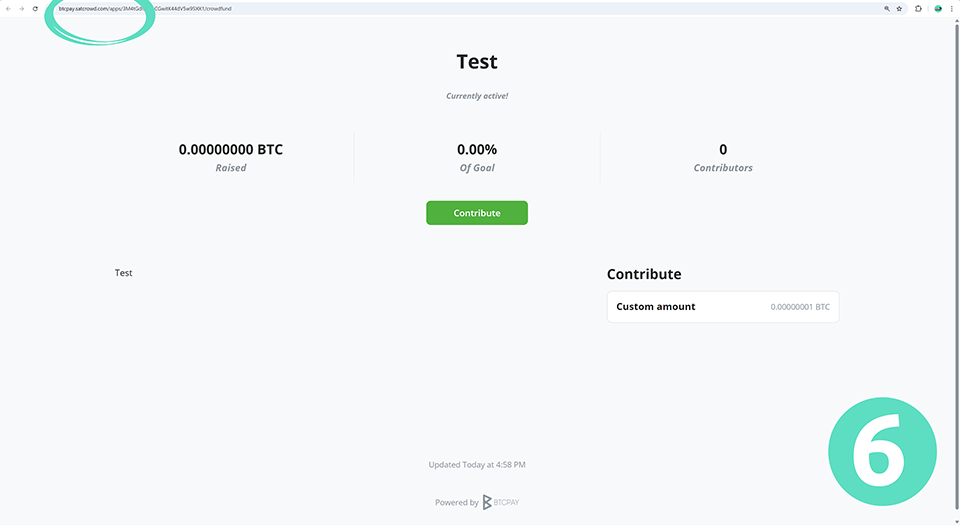
- Click on the “View” button.
- Copy the URL from your active Crowdfund campaign page.
Setting up Donate Tab and QR codes
Return to your Bitcoin Economy Confederation listing details:
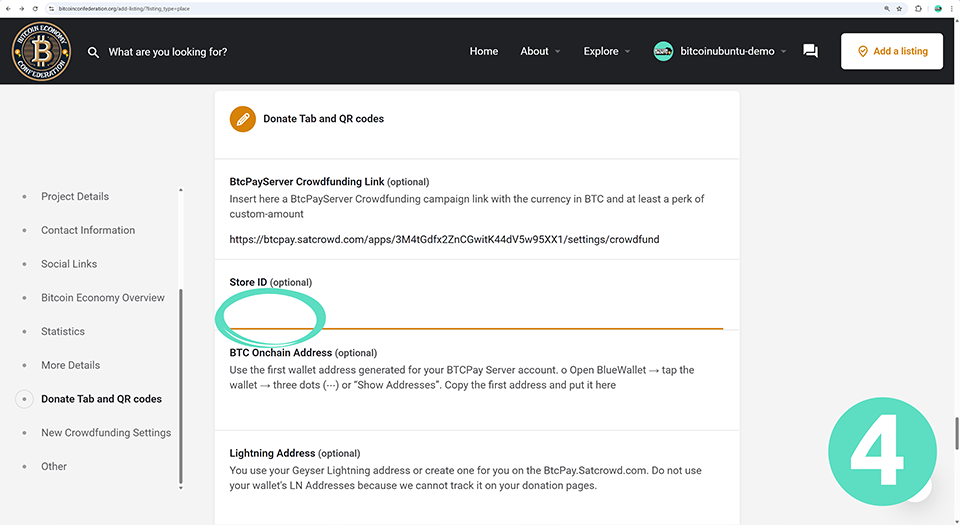
- Paste your Crowdfund campaign URL into the appropriate field.
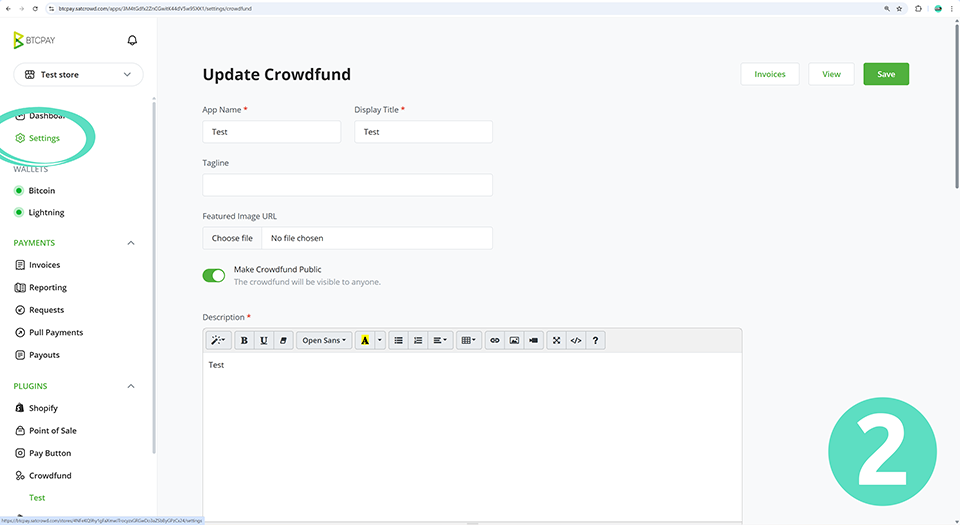
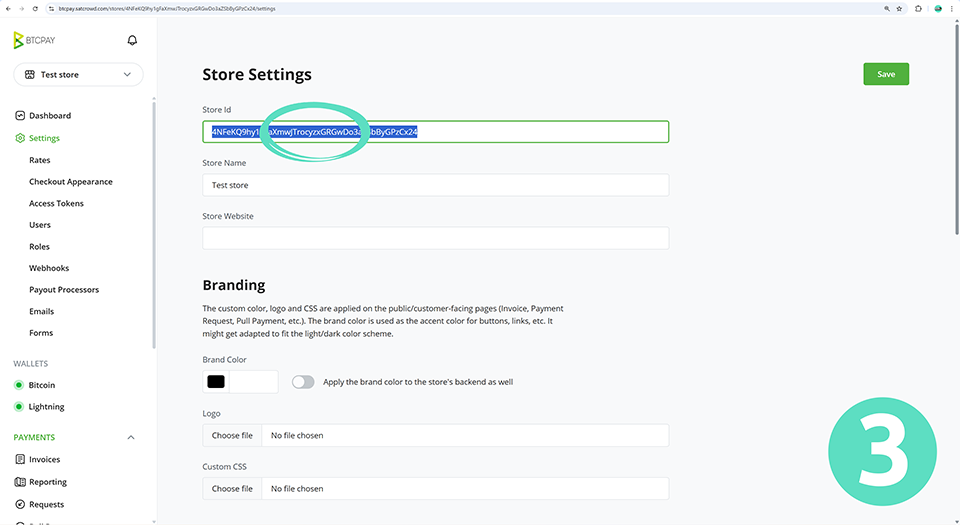
- Return to your BTCPay instance and select “Settings” in the BTCPay menu.
- Copy your Store ID.
- Return to your Bitcoin Economy Confederation listing details and paste your Store ID into the appropriate field.
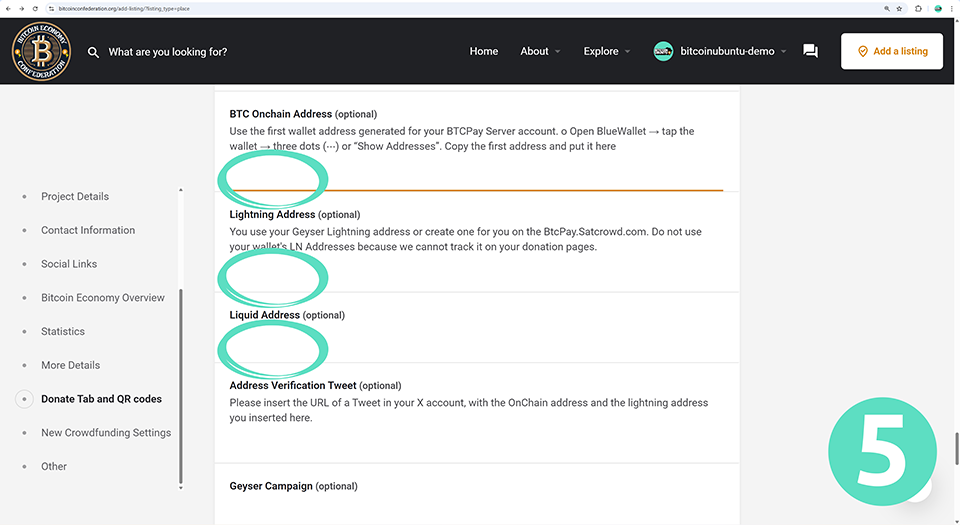
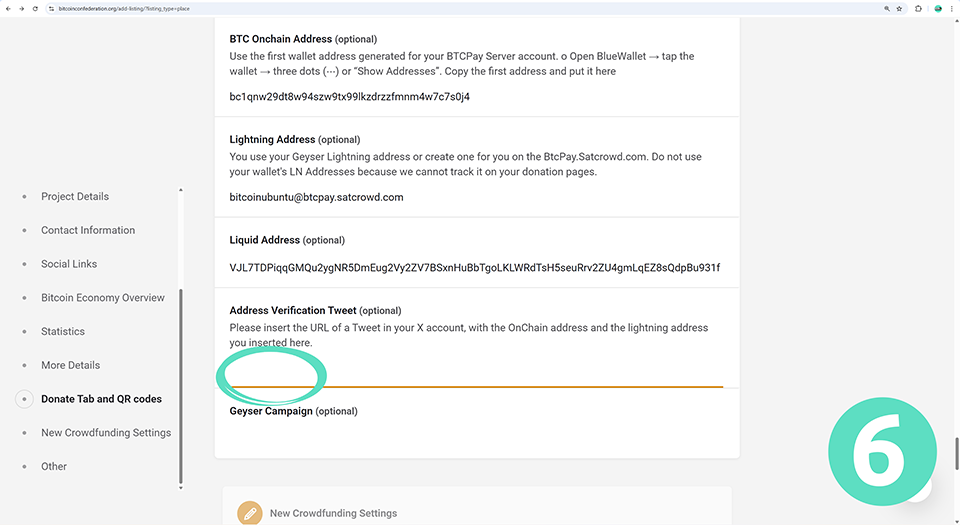
- Enter your BTC donation receive addresses. All three are required for your QR codes to display on your profile.
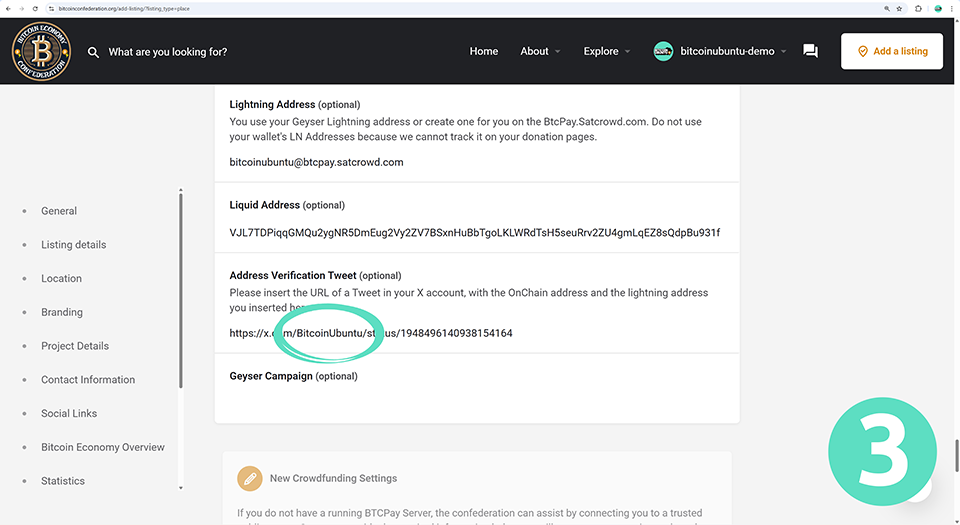
- Paste the URL for your X profile into the “Address Verification Tweet” field. Note: This is a temporary placeholder, you will need to update this field again after your profile has been approved.

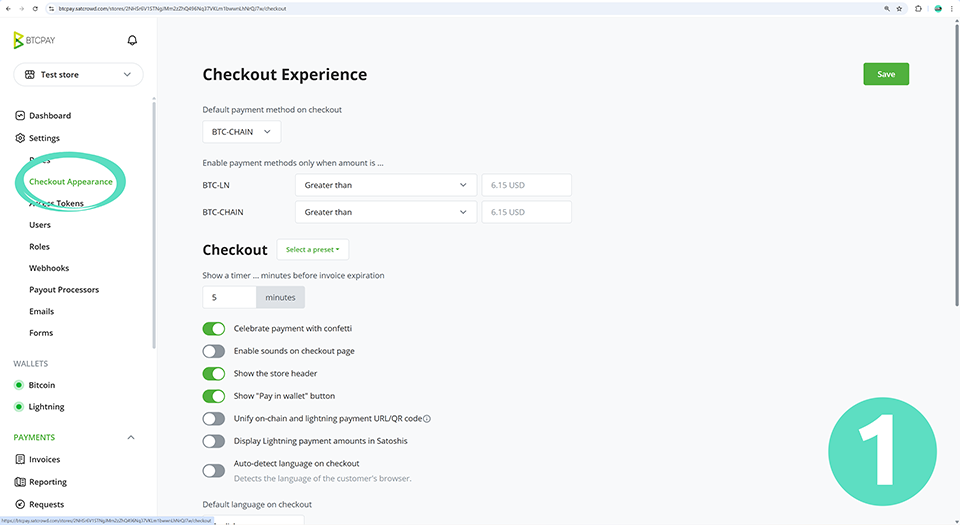
Finally, return to your BTCPay instance:
- Click on “Checkout Appearance” under “Settings” in the BTCPay Server menu.
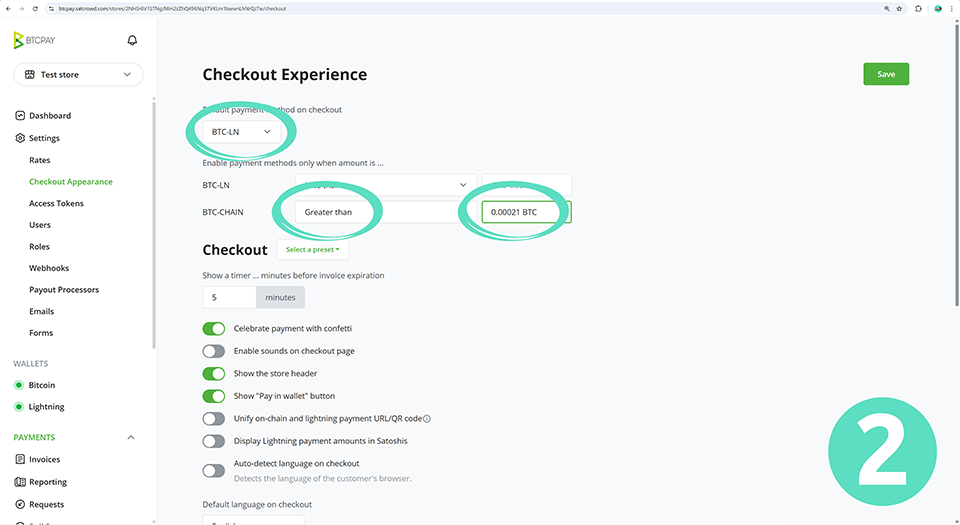
- Change the Default payment method on checkout to BTC-LN and change the BTC-CHAIN options to “Greater than” and “0.00021 BTC”.
- Click on the “Save” button.

Wrapping up
When you have completed filling out the rest of your listing details on the Bitcoin Economy Confederation website:
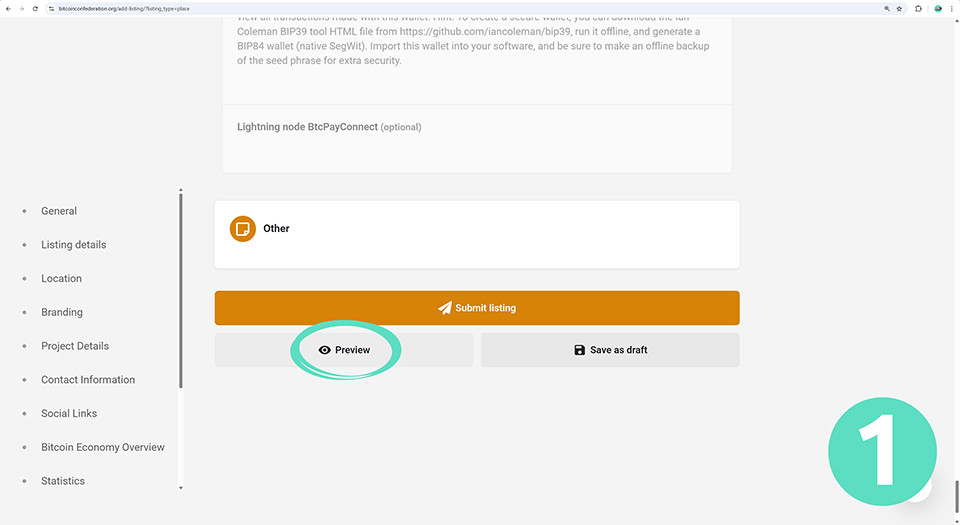
- Scroll to the bottom of the page and click on the “Preview” button.
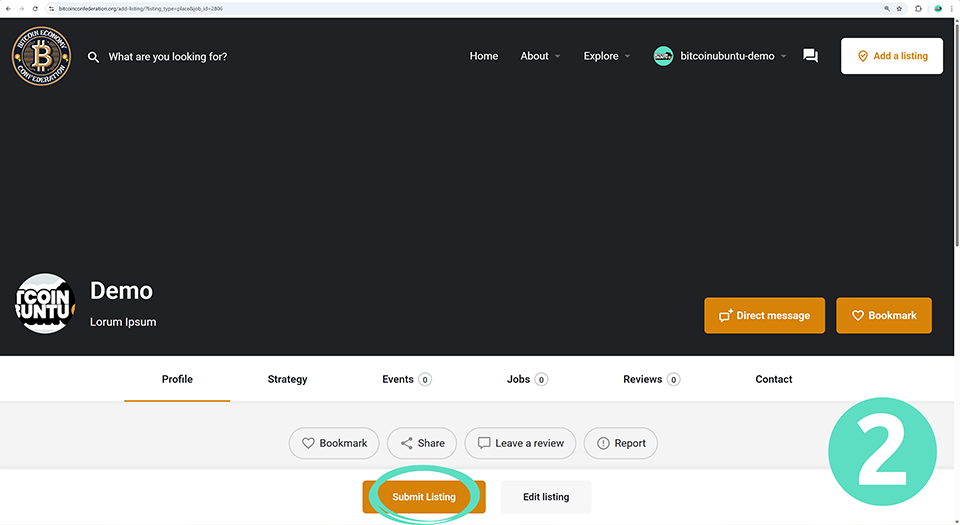
- Preview your listing, ensuring that you are satisfied before clicking the “Submit Listing” button.
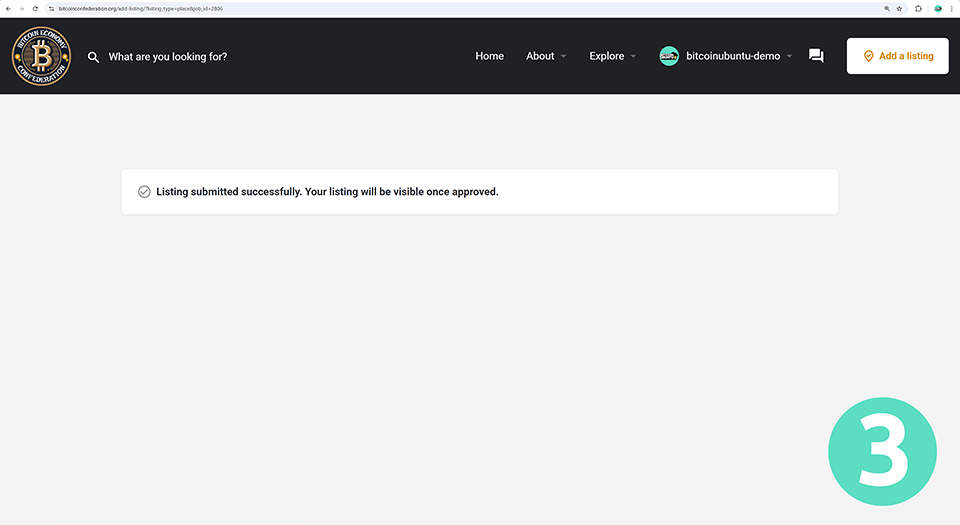
- Wait for your listing to be approved.
Final steps
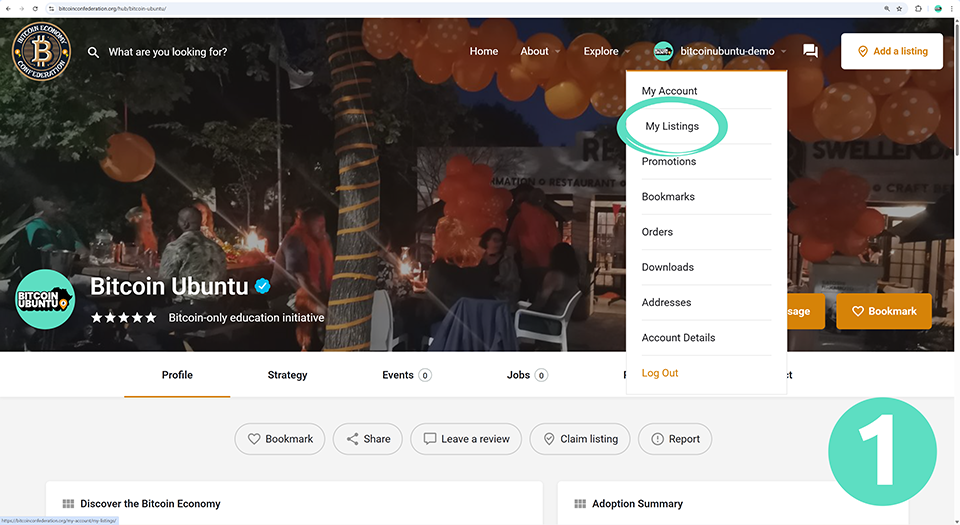
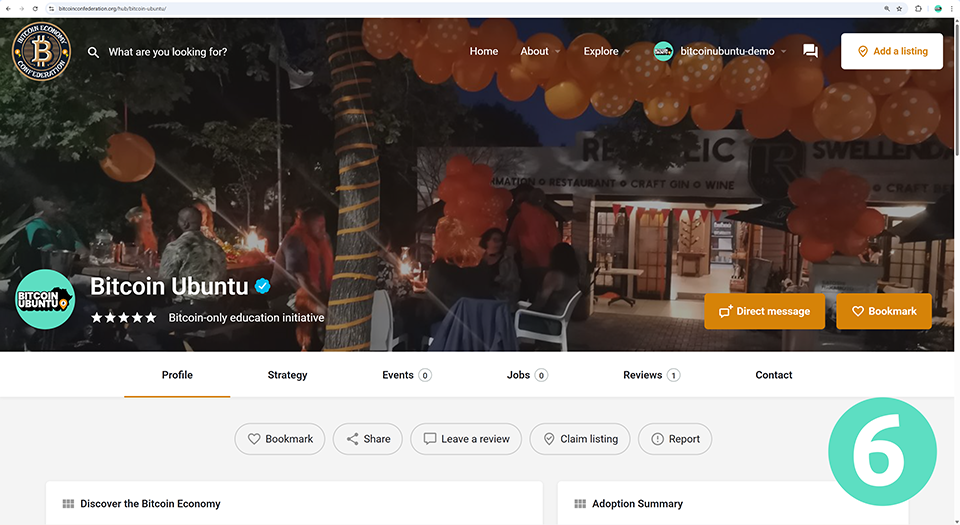
Once your listing has been approved visit your new profile and copy the page URL.
Create a new post using your project’s official X profile similar to the one below, and include the relevant details:
We now accept Bitcoin donations through addresses officially registered on our @bitcoinconfed profile!
[PASTE YOUR CONFEDERATION URL HERE]
On-chain: [PASTE ADDRESS FROM YOUR PROFILE]
Lightning Address: [PASTE ADDRESS FROM YOUR PROFILE]
After you have published your tweet, copy the tweet’s URL.
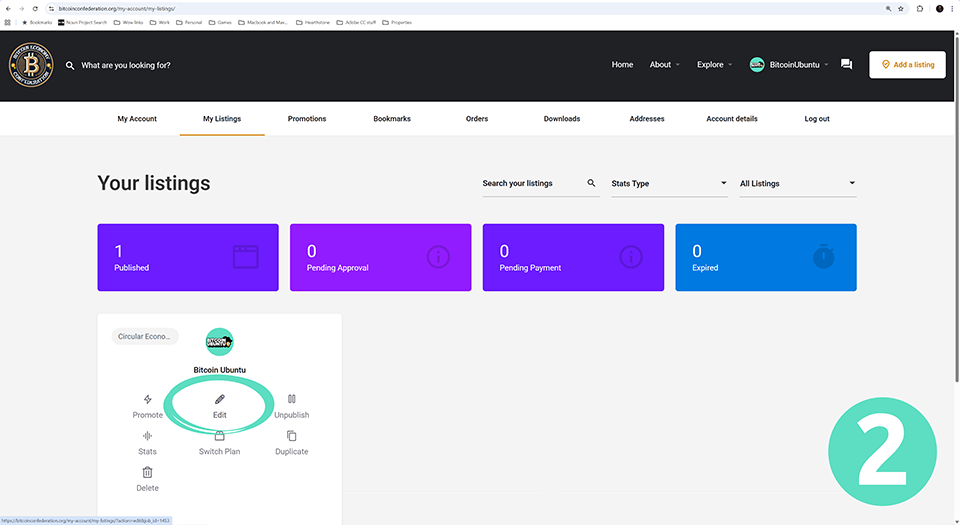
- Return to your Bitcoin Economy Confederation listing details.
- Click on “Edit”.
- Paste your tweet URL into the “Address Verification Tweet” field.
- Scroll to the bottom of the page and click on the “Save changes” button.
- Click on “View –>” to view your modified page.
- Congratulations! Your profile setup is now complete, and you can come back to make changes at any time.

After setup, explore other listings on bitcoinconfederation.org or join the Bitcoin Ubuntu community on X.